Documents
- How to get help
- Account activation process - Migrated user
- Login process
- Messaging on the client portal
- Messaging on the mobile app
- Forgotten details
- Unlocking your user account
- Landing page and navigation
- My profile
- My Wealth
- Portfolio details
- Documents
- Minimum system requirements
- Legal information
- Submitting feedback
- Mobile app - Features overview
- Mobile app - First time setup or reinstallation
This purpose of this guide is to provide an overview of the documents function available in the client portal.
Viewing your documents
After logging into the client portal, your documents can be accessed by clicking on the link on the menu at the top of the screen.

The Documents page
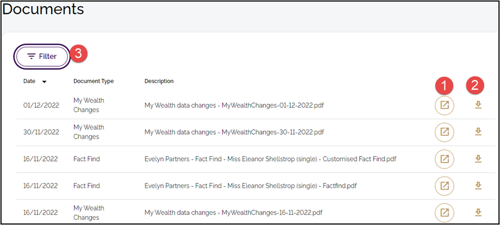
From the Documents page, you will see the documents associated with your account. These are listed in groups of 10. To see more documents, click on the Load more link at the bottom of the page. From the documents list, you have a number of options.
Refer to the coral coloured circles in the screenshot below:
- Preview – This will open the document in a new browser tab
- Download – This option enables you to download a copy of the document to your computer or tablet
- Filter – This option enables you to change the view settings of the documents list
| TIP: In addition to your own account’s documents, you will also be able to see documents from any linked accounts you are associated with. Linked documents will be identifiable by their description in the list. |
Filter options

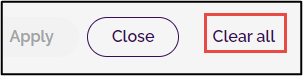
By using the filter options, you can choose exactly which documents will be listed. The two pieces of filtering criteria are: Date range and Document type. In the example shown above, we have filtered the list from 01/11/22 to 31/01/23 and elected to show only Fact Find documents. Now click Apply
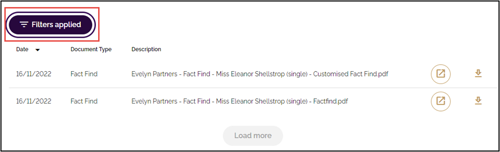
We can see in the next image only the documents that meet those criteria.
Tip – Reset the filters to view all.
|